Currency
How to assemble a cost-effective computer easily with few steps
March 24, 2020

Today we are going to teach you how to assemble a computer easily with few steps! After you view this article, you'll have a functional and cost-effective computer.
What can we do with this computer?
The computers we build today are not only used to web browsing and email but also can use it to learn basic computer science and practice programming. We can also carry out many electronic experiments with it. What’s more interesting, we can play games and build our own games.
Display
To assemble a cost-effective computer quickly, of course, a choice of Raspberry Pi display is significant. However, with so many different sizes and types from displays, which should you choose? We recommend several Raspberry Pi display that is very convenient for you to assemble a computer. Just plug and play! Simply connect Raspberry Pi with an HDMI connector. Here is the overview of displays you can choose.

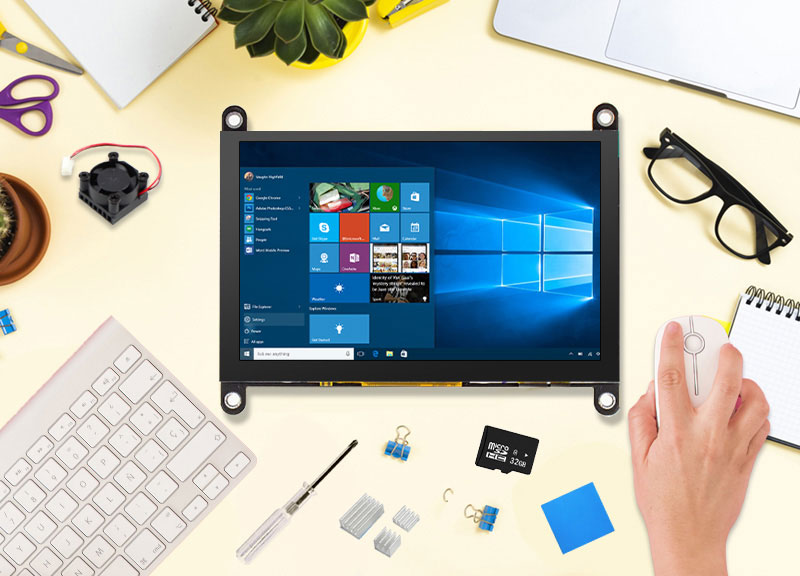
RC050S HDMI 5 Inch 800x480 Capacitive Touch Monitor.
It is designed especially for Raspberry Pi. Raspberry Pi could be mounted on the back of the monitor perfectly. Just plug and play! Simply connect Raspberry Pi with an HDMI connector and a USB connector for touch and power. Specifically, this monitor support capacitive USB touchscreen, 5 points touch maximum. Also, with 2 bracket sticks, it can easily support the display.

RC070P 7 Inch 1024x600 Raspberry Pi Touch Monitor
This is an excellent mini IPS screen 7 inch HDMI monitor with a special design for Raspberry Pi. Easily mount your Raspberry Pi on the back of the monitor with the accessories included in the box. Thanks to the mini size and easy-install bracket stick, it makes this monitor a simple on-the-go setup. It supports HD 1024x600 resolution, IPS monitors help keep colors consistent at a wide viewing angle. It features OSD adjustment function that can easily adjust the brightness /VOLUNM / contrast / saturation / language, etc. With built-in speakers, this small monitor enhances your audiovisual experiences.

RR040I 4 inch HD 800x480 Resolution IPS TFT Touch Screen Display
4.0-inch IPS full-angle display, support HDMI input, refresh rate up to 60FPS. The physical resolution is 800x480. Compatible with and can be directly inserted into all versions of raspberry PI motherboards. With HDMI interface, used to connect the mainboard and LCD display for HDMI transmission

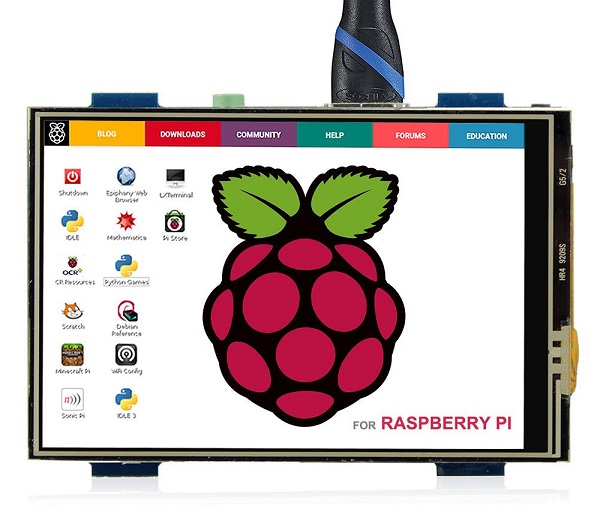
HDMI 3.5 inch 480 x 320 Resolution Touch Screen Monitor
3.5-inch display, resolution 480 * 320, frame rate 60FPS or more. Since the monitor is designed for Raspberry Pi, the touch panel function is dedicated to Raspberry Pi and supports Raspbian, Ubuntu, and Kali Linux. It has an HDMI interface, so it is not only for Raspberry Pi, but also for other devices.
We also supply different types of screens if these screens above don't meet your needs. They are ultra-slim and portable, a great ideal for business trip presentation, travel, or home entertainment. Work perfectly with Raspberry Pi. Also, they can be used as an extended screen with your notebook or desktops. The larger screen gives you an excellent visual experience. You can choose the most suitable one according to your own needs from here: Ultra Slim Portable Monitor, Portable Monitor
OK, without further a due, here are the install steps below! The following tutorial takes RC050S HDMI 5 Inch 800x480 Capacitive Touch Monitor as an example.
Step 1.Download the Raspbian image
If you are a beginner, I recommend using Raspbian as it features regular updates, LibreOffice, an office suite for web browsing and emailing, etc and it is also easy to install.
Image Download Link: https://www.raspberrypi.org/downloads/raspbian/
User: pi Password: raspberry
Please download the latest Image for Raspberry Pi 4B

Step 2. Download and install the burning tool
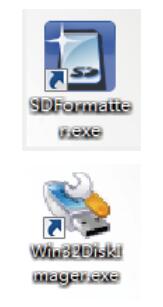
Download SD Card Formatting Tool (SDFormatter 5.0.1) Link: https://www.sdcard.org/downloads/formatter_4/
Download System Burning Tool (Win32DiskImager) Link: https://sourceforge.net/projects/win32diskimager/

Step 3. Format SD Card
Insert the TF card into the card reader → insert the card reader into the computer → open the SDFormatter software → select the memory card → click Format → pop up the box and click “Yes” or “OK” until the format succeeded
Step 4. Burn the Image to SD Card
Open Win32DiskImager software → select downloaded image file(.img) → select SD card → click ”write” → wait for burning completion, pop-up box click OK
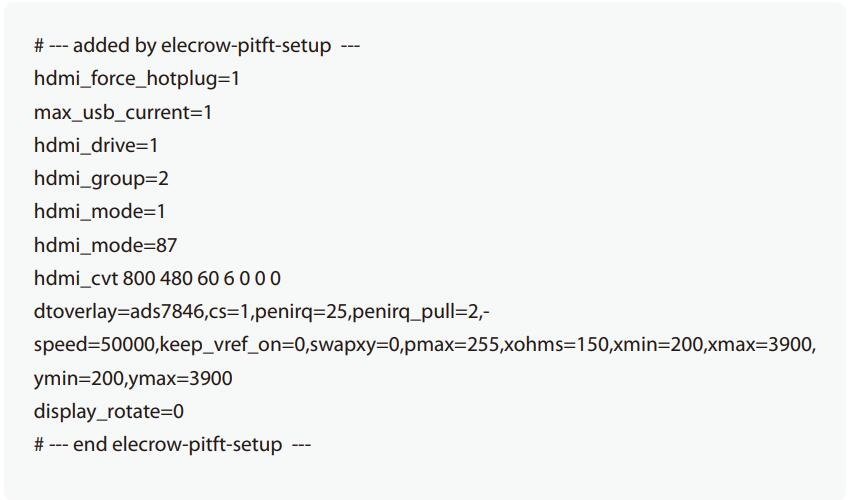
Step 5. Modify the “config.txt”
Open the config.txt file of SD card root directory and add the following code at the end of the file, save and eject SD card safely:

Step 6. Insert the SD Card into the Slot on the Back of the Raspberry Pi Motherboard.

Step 7. Connect to monitor
Mount the Raspberry Pi on the back of the screen. Connect the HDMI connector & USB connector firmly onto Raspberry Pi and monitor.

Power the Raspberry by USB-C and install the long copper pillars. The viewing angle of the monitor can be adjusted by the length of the copper pillars.

I will stick the fan to the CPU of Raspberry Pi and power it by connecting to the FAN pin of the monitor. Due to the high performance of pi 4, the temperature of the board can reach up to 60 °C or even 70 °C when working. I do need a heatsink or any cooling fan for the Raspberry Pi 4. Luckily, the package list of Elecrow RC050S HDMI 5 Inch 800x480 Capacitive Touch Monitor includes a cooling fan.

